 |
Ok, let's get started.
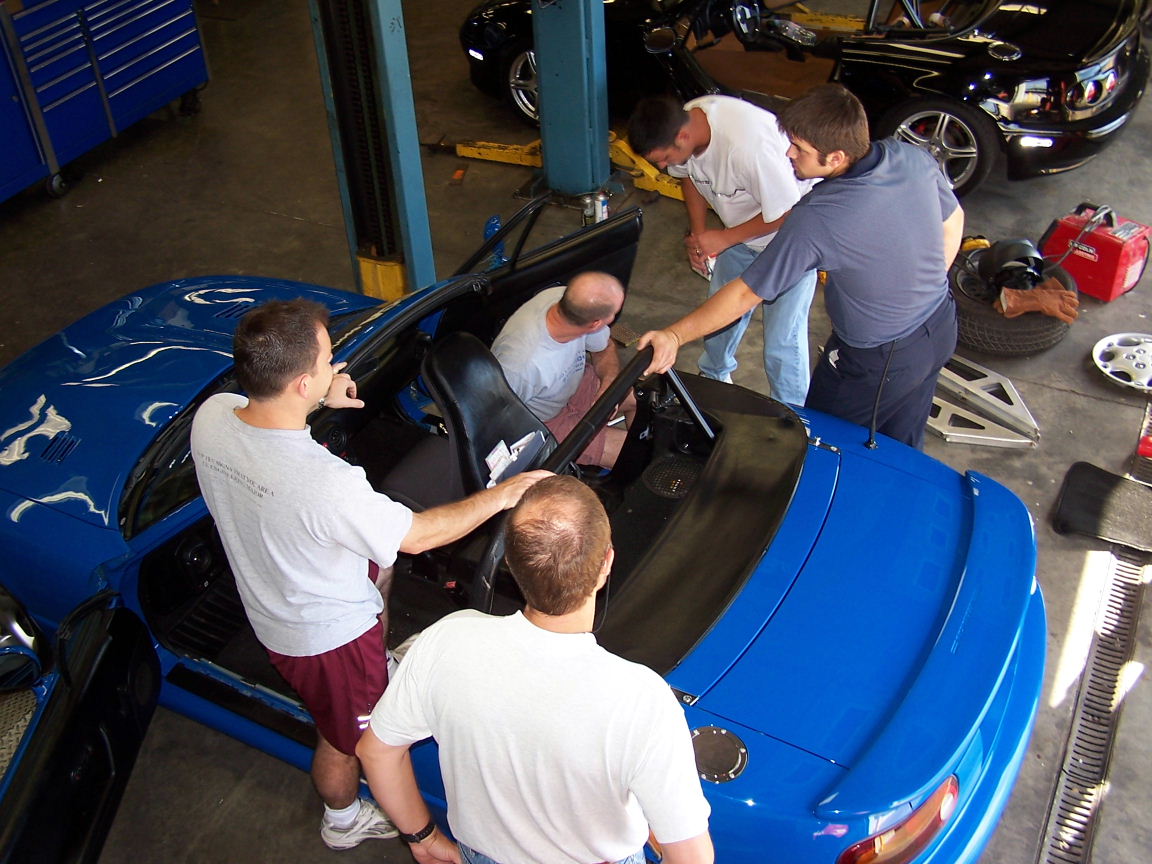
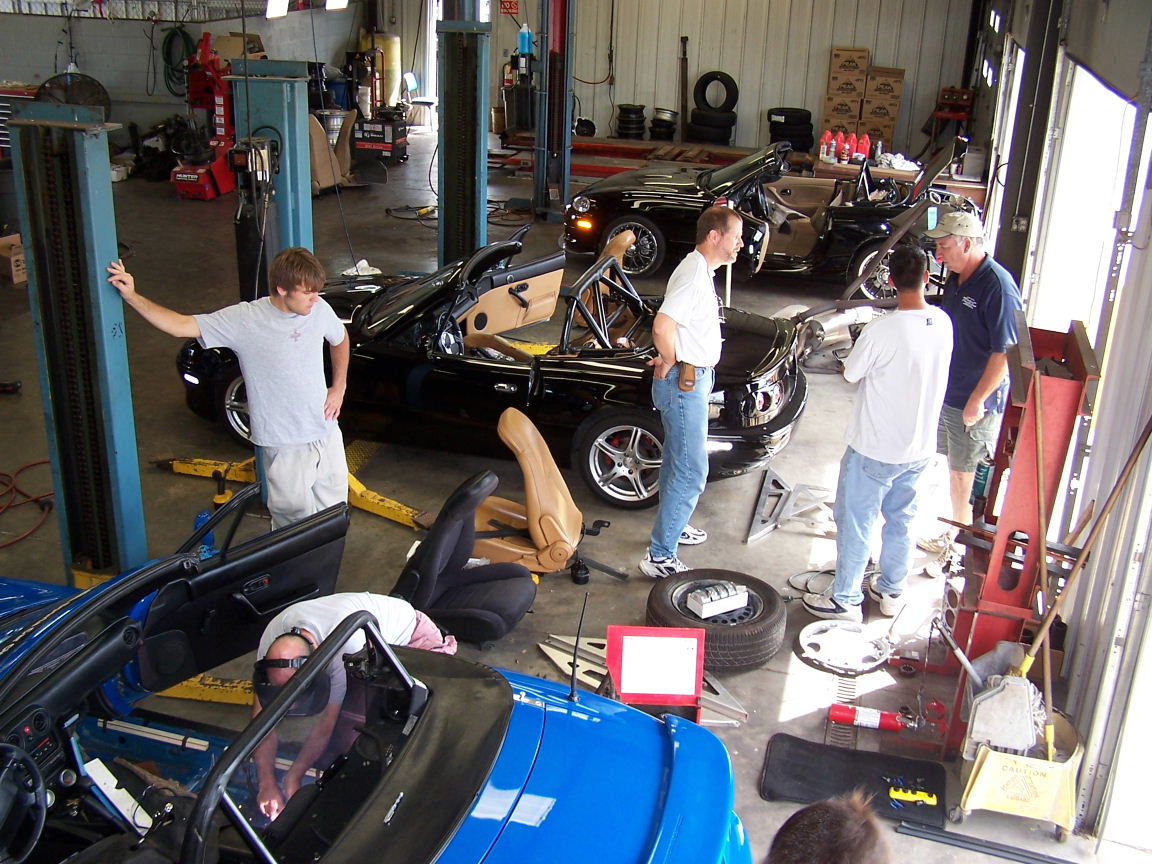
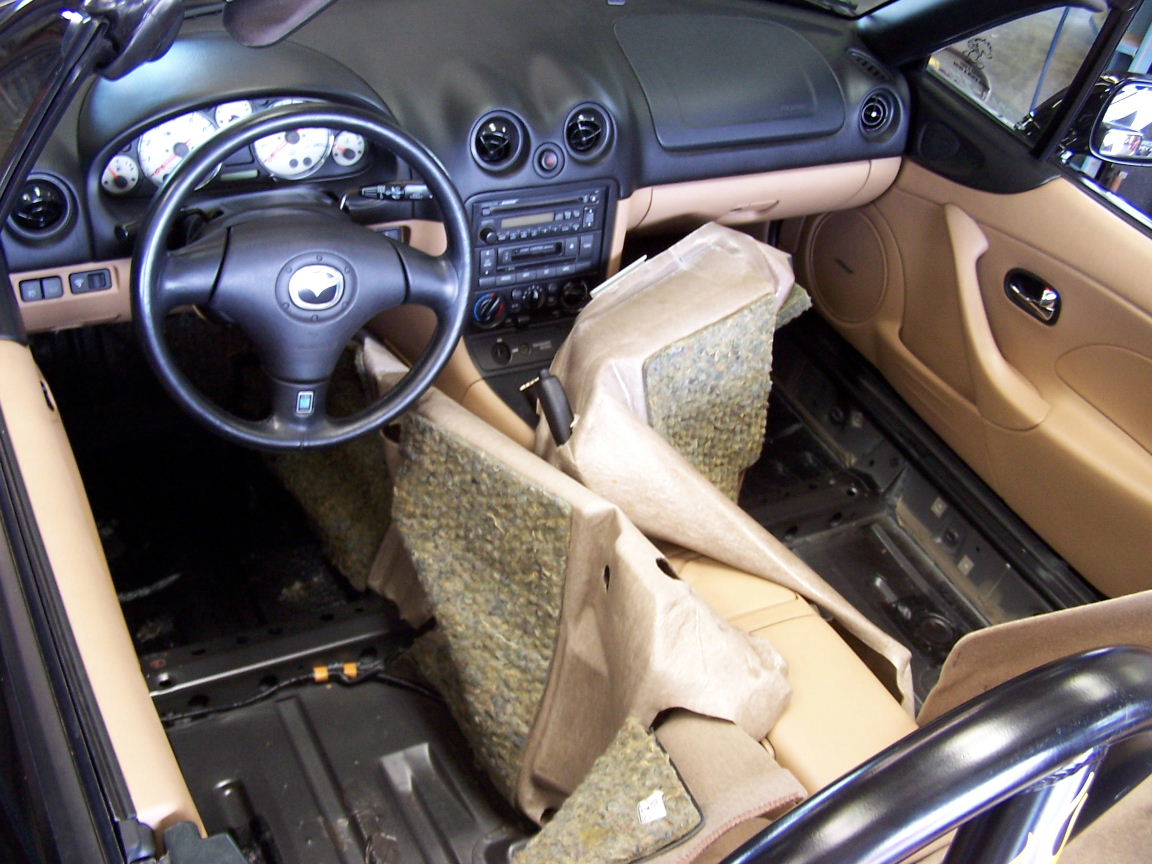
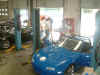
First step is to pull the seats. This should be easy. :-) |
 |
Driver side seat is out, but
still working on passenger side seat. Hmmm... |
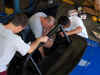 |
Still working on that passenger
seat. |
 |
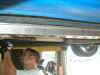
Uh, Mark, that is a strange
looking ratchet. |
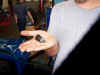 |
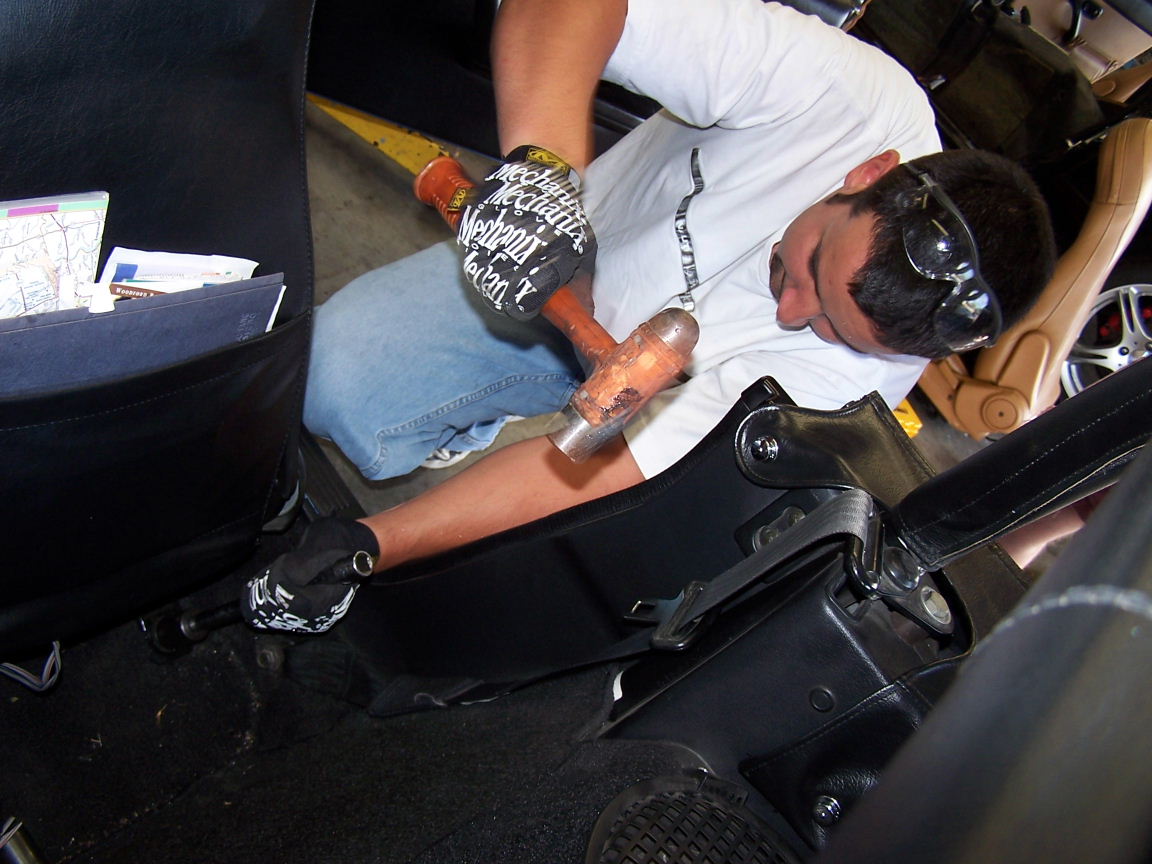
Ok, so I had one bolt that was a bear to get out. A bolt
extractor and muscle finally got it out. That burned up at least an
hour. |
 |
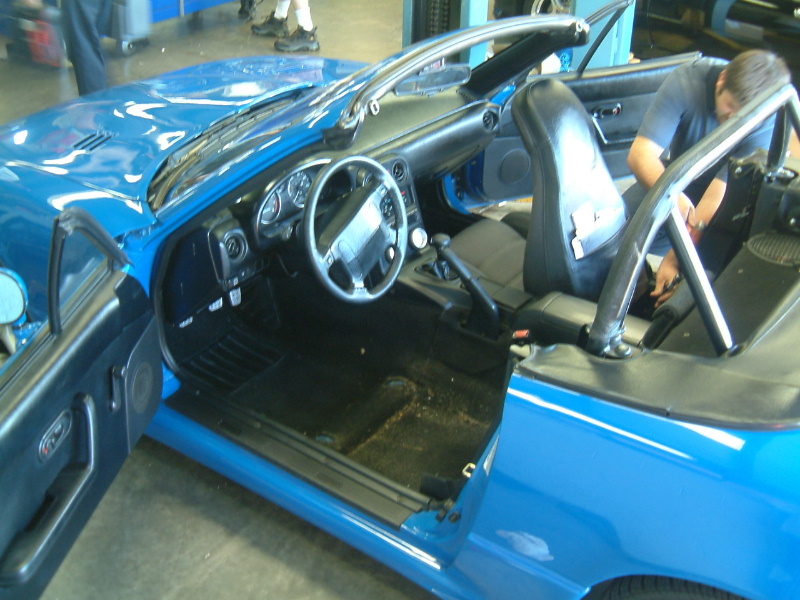
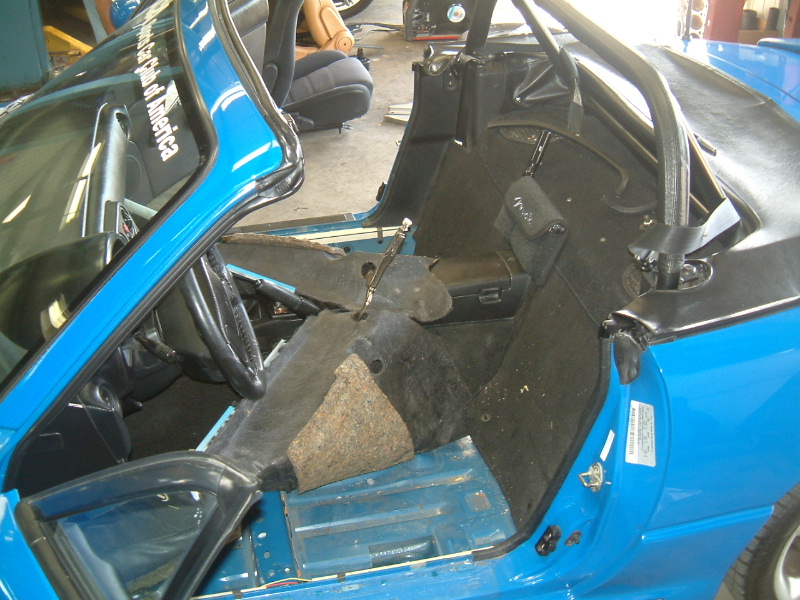
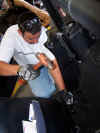
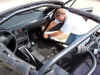
After the seats are
pulled, pull the carpet up and out of the
way a bit so that the drill bit doesn't make a mess of the carpet. |
 |
Meanwhile over on Flash's miata,
a mishap occurred. This is worth noting for 94+ cars w/ the ECU
behind the passenger seat. A wiring harness got chewed up when
drilling... YIKES! Watchout. |
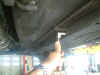 |
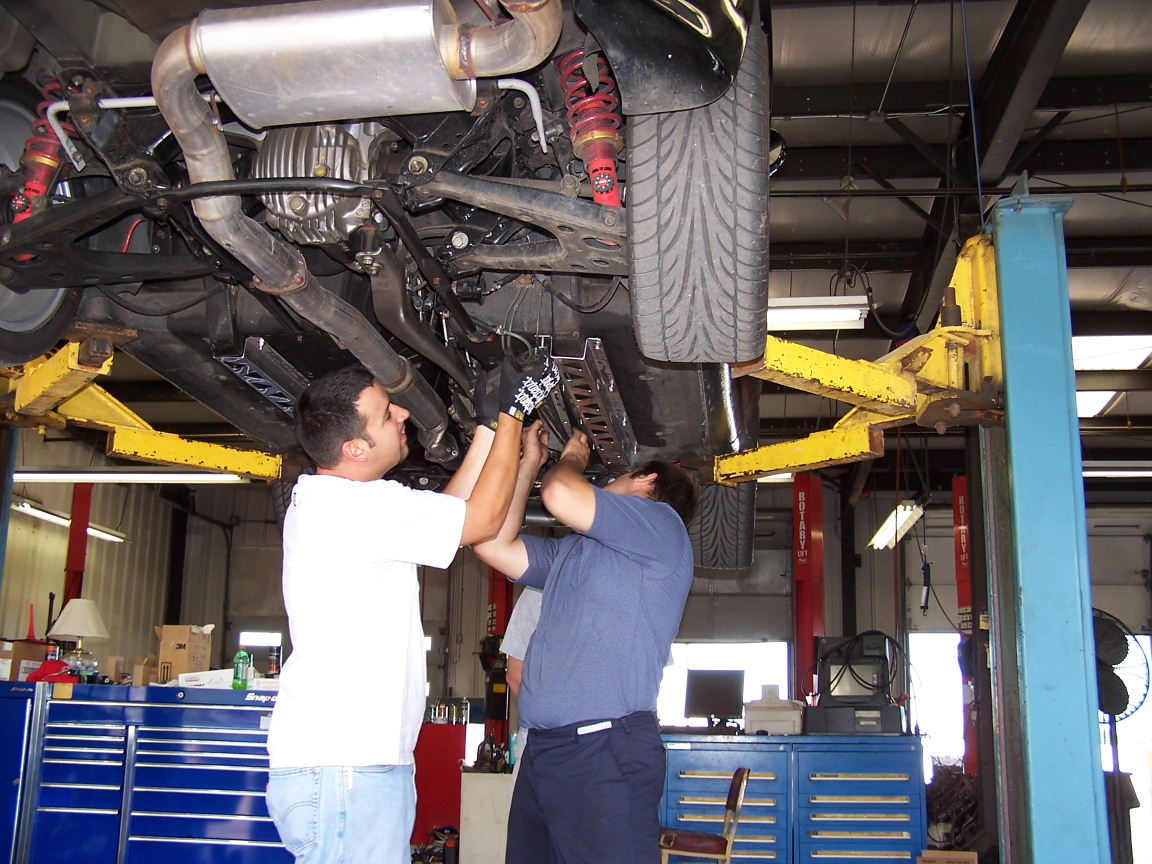
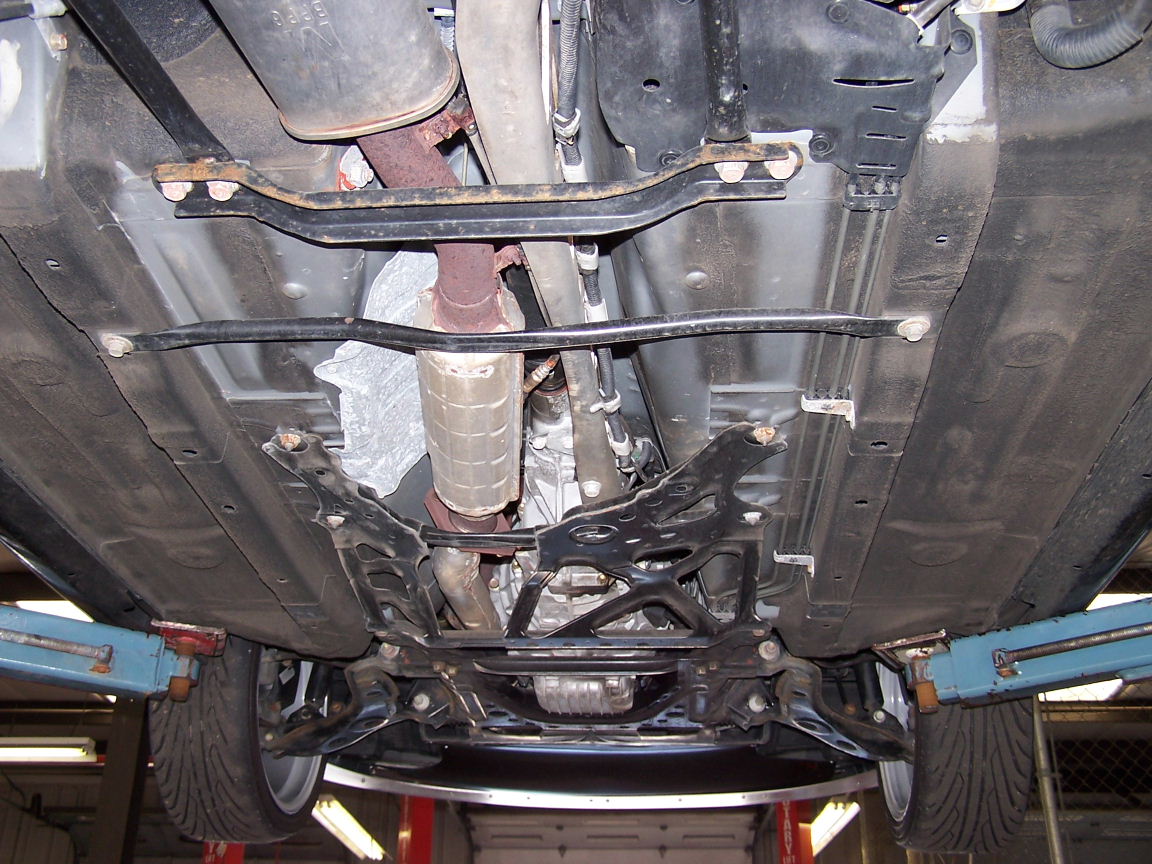
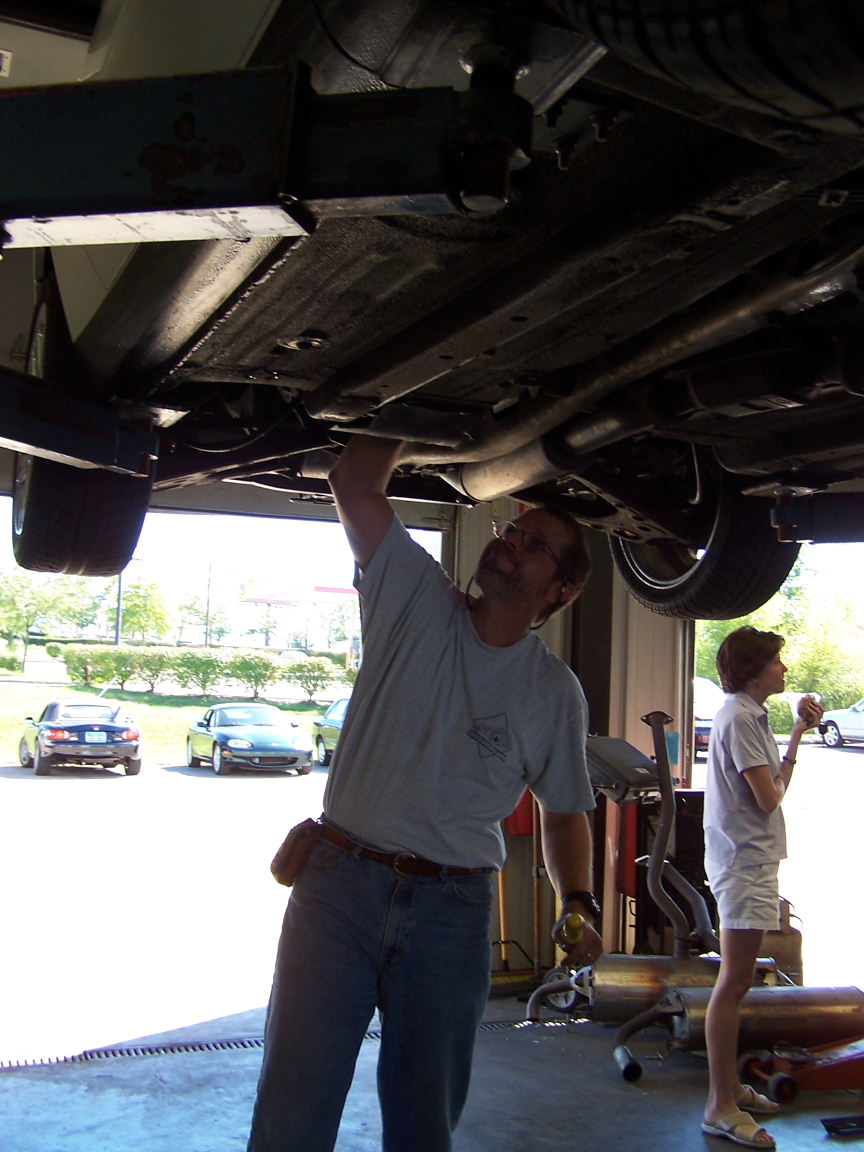
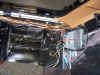
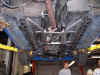
Removing bolts that hold the
brake lines in place. The frame rail braces will go here and the
brake line mounts will be modified slightly. |
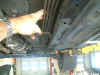 |
Pulling the brake lines out of
the way to make room for brace insertion. |
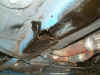 |
Yikes! Look at the hole in
my existing rail! And what? Rust??? I coated it pretty
well with undercoating spray before installing the rails. No more
rainy days for my miata. NO! |
 |
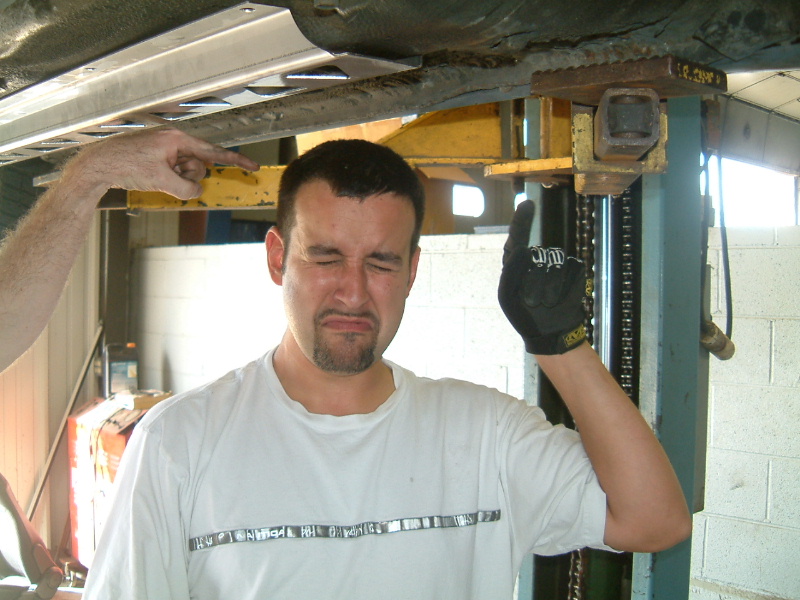
Please do not bump your head on
lift when installing rails. Rails function better if you no bangy
head on lifty. Once Mark started crying, we all started
crying. It was an ugly site. |
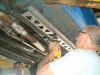 |
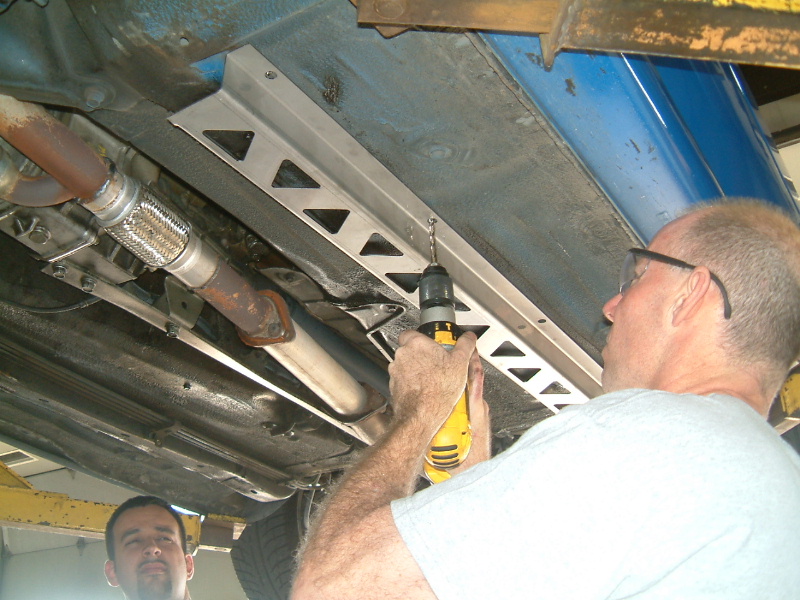
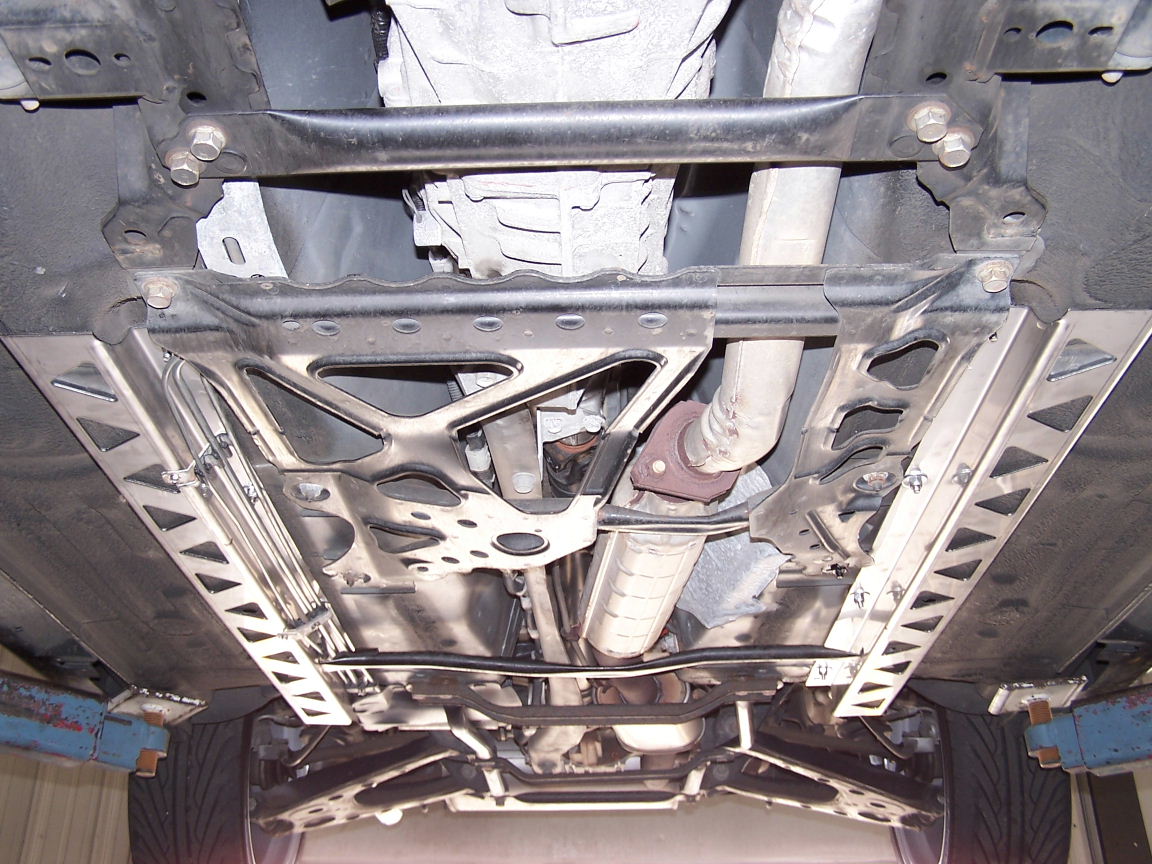
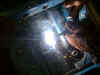
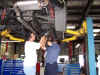
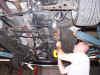
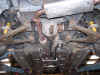
Flash helps out with the
drill. The rail braces literally push up and wedge in place on the
existing miata frame rails and hold themselves in place while the mounting
bolts are installed. This makes it easy to know where to drill the
holes. |
 |
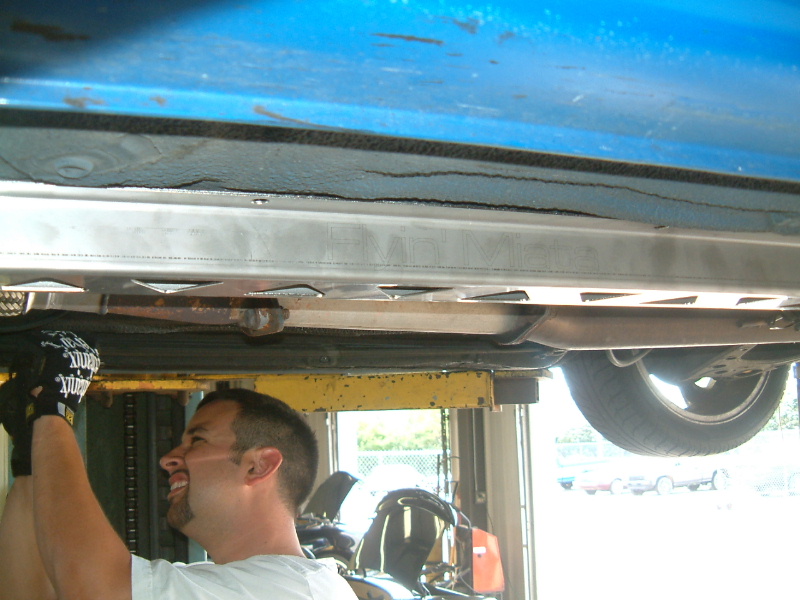
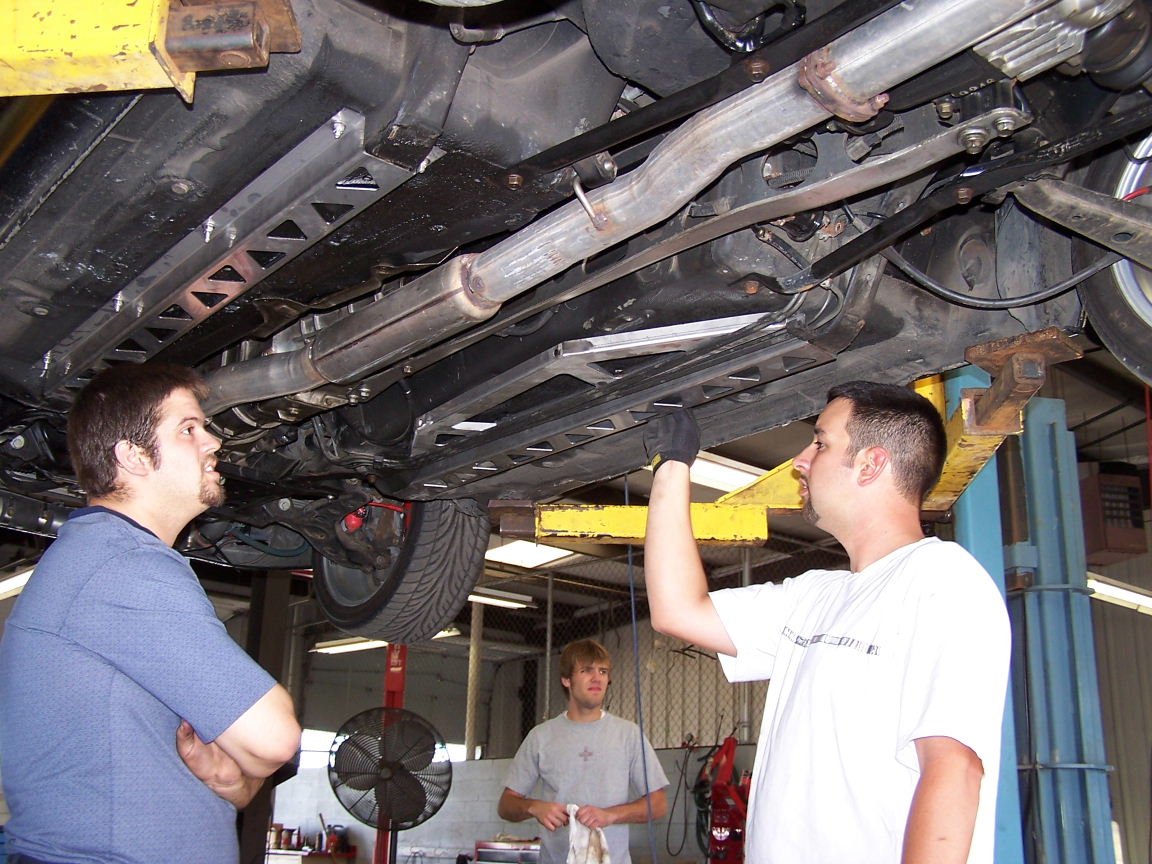
Mark sizes up the other side and
generally corrects the work Flash did. :-) Just kidding Flash. |
 |
Mark jumped over to Flash's
miata to do a little work. Hey, how come Flash and Casey are over
there eating donuts? |

 |
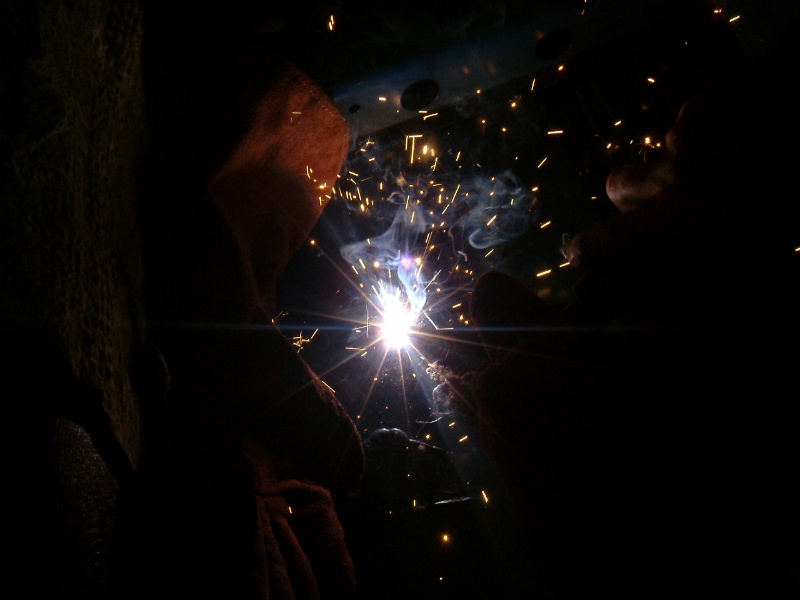
Ok. I had to include these
pics only because I thought they looked cool. However, based on our
experience, DON'T weld the heads of the bolts to the floor pan. We
had problems with the bolts snapping and the threads getting deformed from
the heat associated with the welding. The reason we welded them was
so that in the event the butterfly section needed to be removed (for
tranny, exhaust, etc) removal, the bolt heads would not need to be
accessed (i.e. we wanted to eliminate the need to remove the seats and
carpet again). After experiencing problems with the welding work, we
just popped in new bolts and went our merry way. |
 |
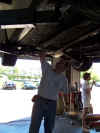
Break time (except for Flash who
is always working hard). |
 |
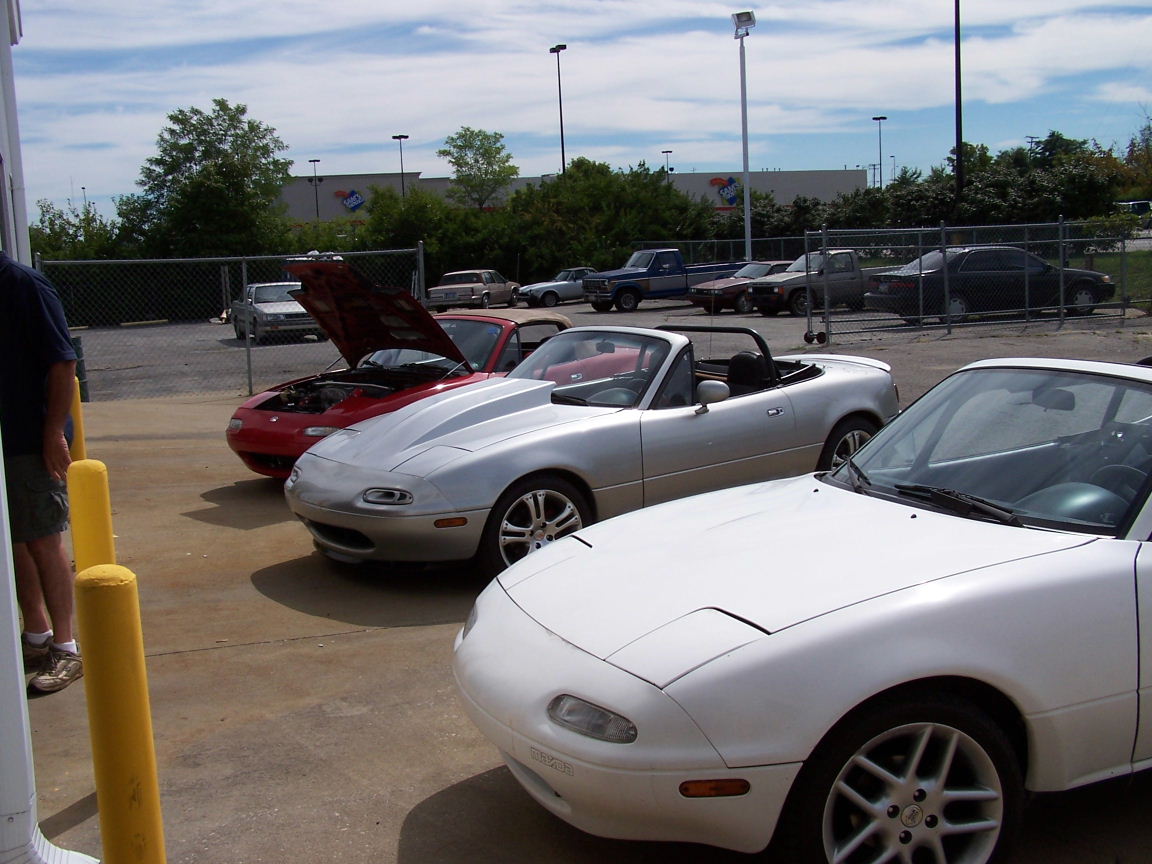
I took a quick break to clean up
as I had to leave for baby-duties for the afternoon. Since my car
wasn't finished, the rest of the crew chipped in to finish it for
me. Speaking of which, I'm now missing all sorts of valuable parts
from my car. Hmmm... wonder where they went? :-) Here's
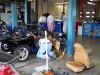
a not-so-good shot of some of the cars there that day. |
 |
More Miatae parked outside the
garage. The silver one is Randy's w/ a 383 stroked Chevy V8. |
 |
Reynolds prepares his white '91
already equipped with a full roll cage for the install. |
 |
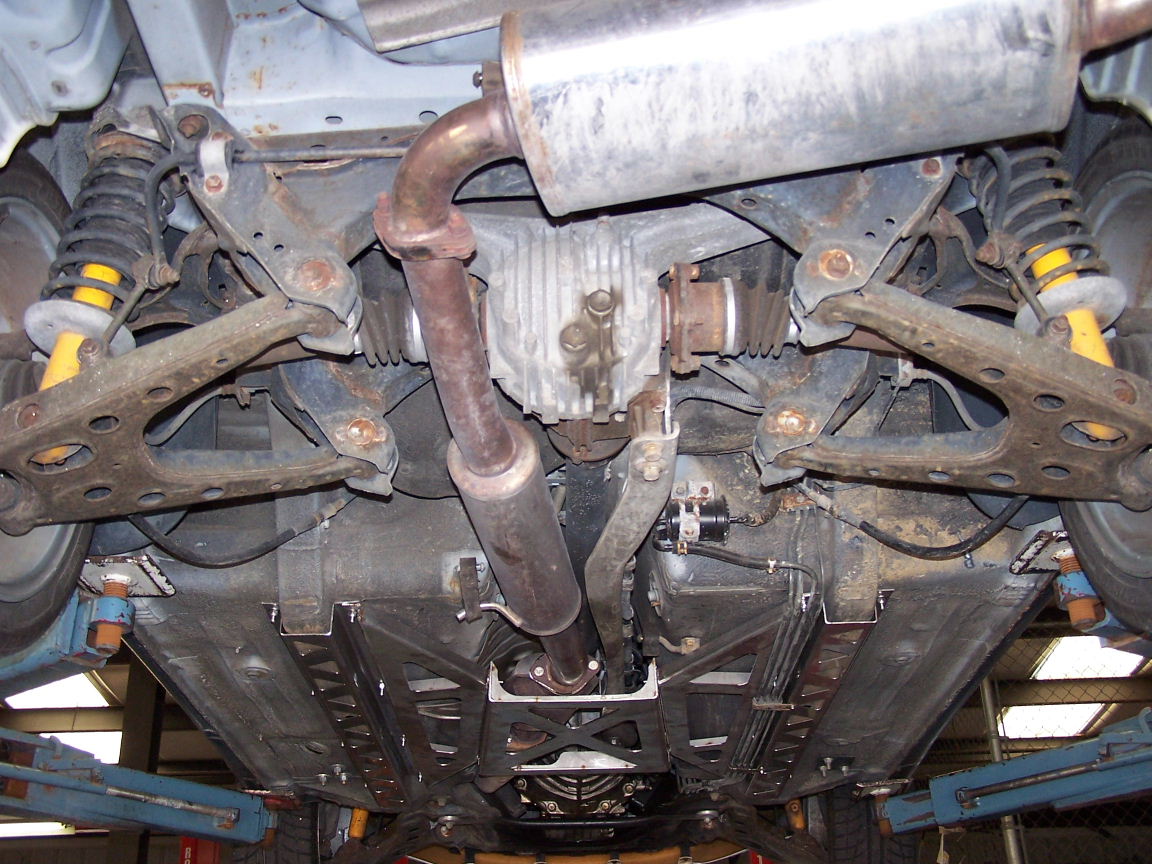
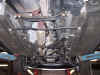
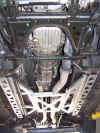
Test fitting and bolting in the
frame rail braces. |
 |
The first piece of the butterfly
bracing the tie the frame rails together goes on. |
 |
Brown-o's '01 gets ready for an
install. |
 |
Hey wait a sec, these '01's
already have some nice bracing underneath. More is always better!! |
 |
Braces go on a '01 just fine. |
 |
Rails install on Brown-o's '01. |
 |
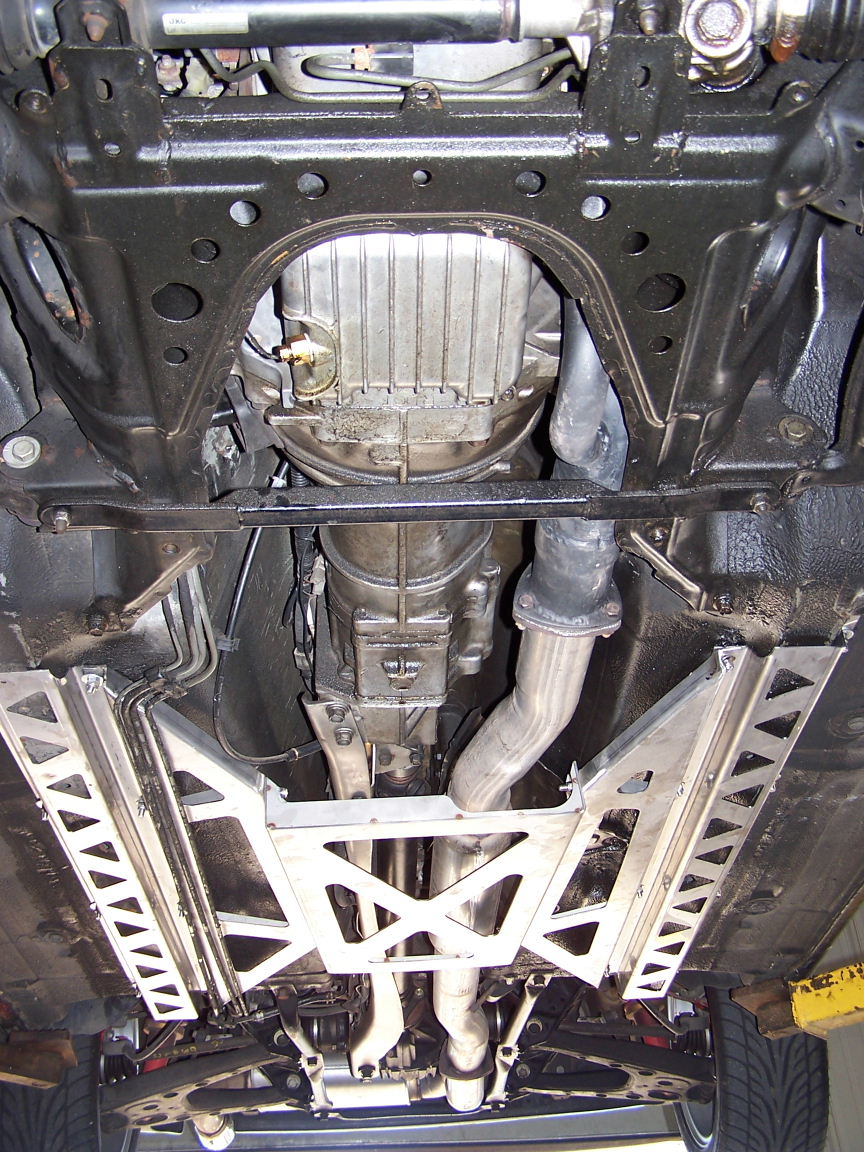
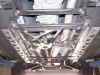
Back to my car... hey, someone
finished it up! Butterfly and frame rail braces installed! |
 |
Another view. |
 |
Flash's is about done.
Look at the big 3" downpipe. |
 |
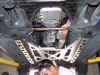
Reynolds hard at work! |
 |
Reynolds install.... DONE! |
 |
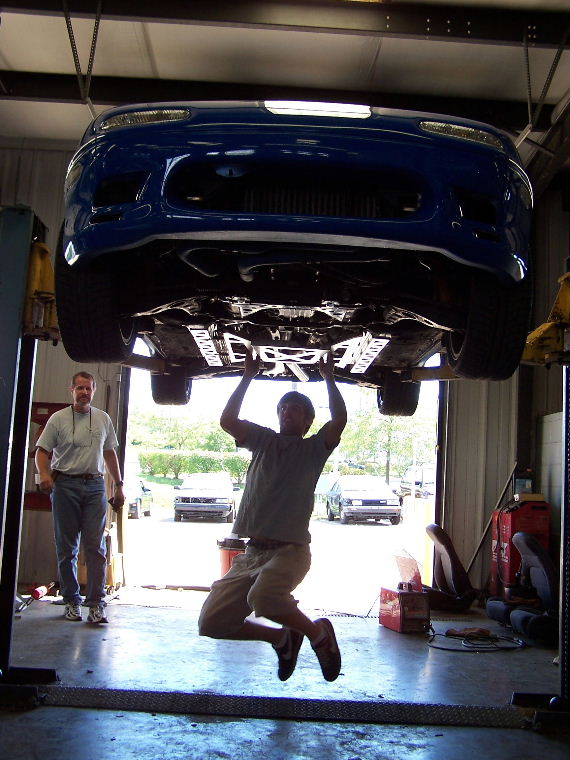
Look at my pet monkey,
Spacey. We put krazyglue on his hands. We had fun tormenting
my pet monkey. We lowered the car on him and did burnouts in the
parking lot. Spacey no likey burnout. |