 |
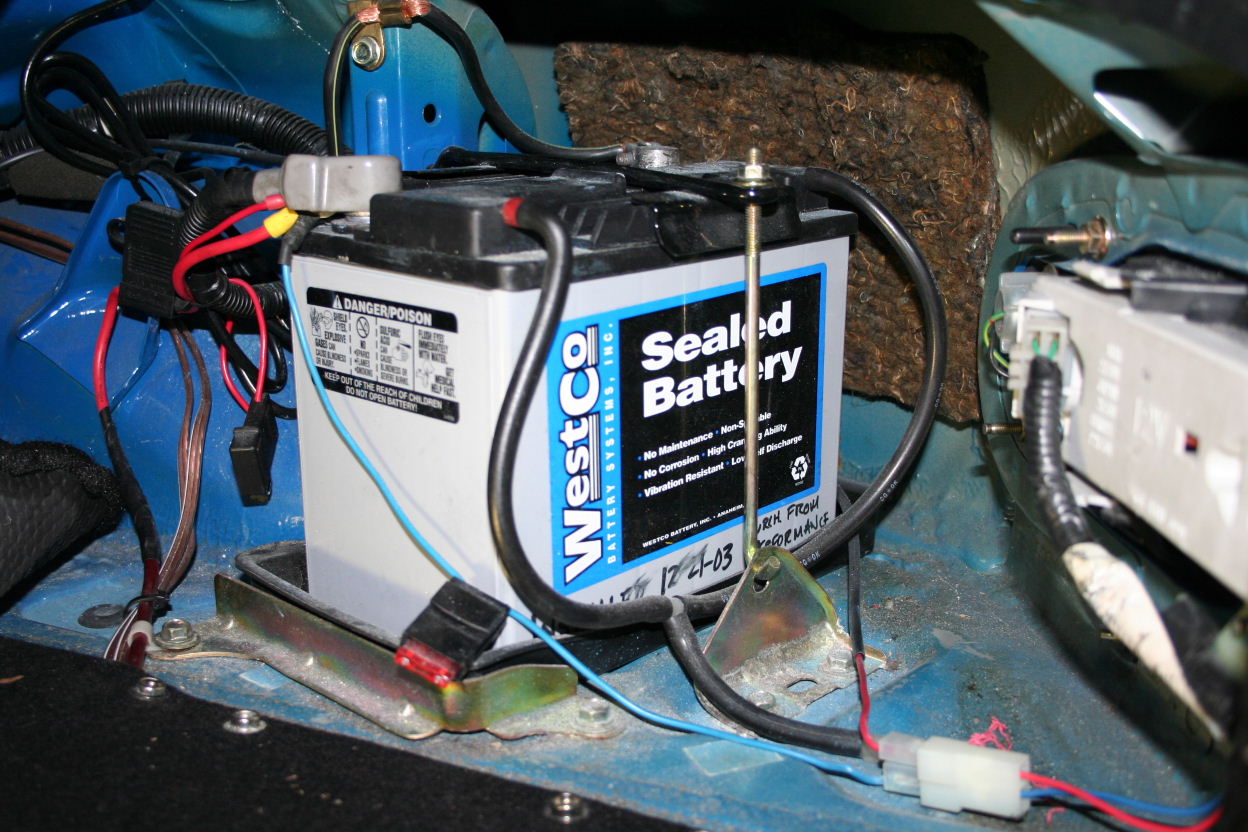
Starting with the old Westco battery. Out with the old... 3 years and it finally wouldn't hold much of a charge more than 24 hours in sub 40 degree F weather. This battery is poo! Jump starting every morning is getting old. |
 |
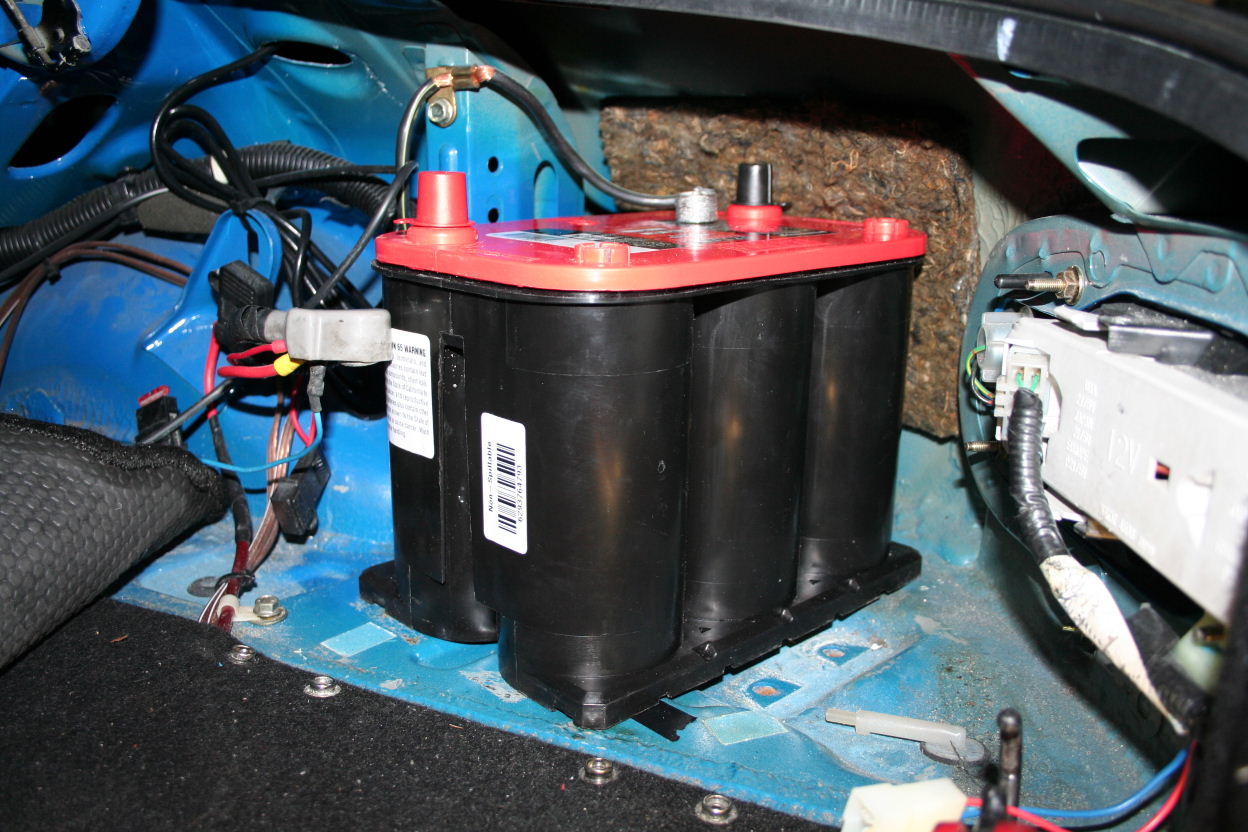
Here is the Optima redtop model 35 next to the Westco. Yep, it's a bigger battery in every way, but it will fit... oh yes, it WILL fit. |
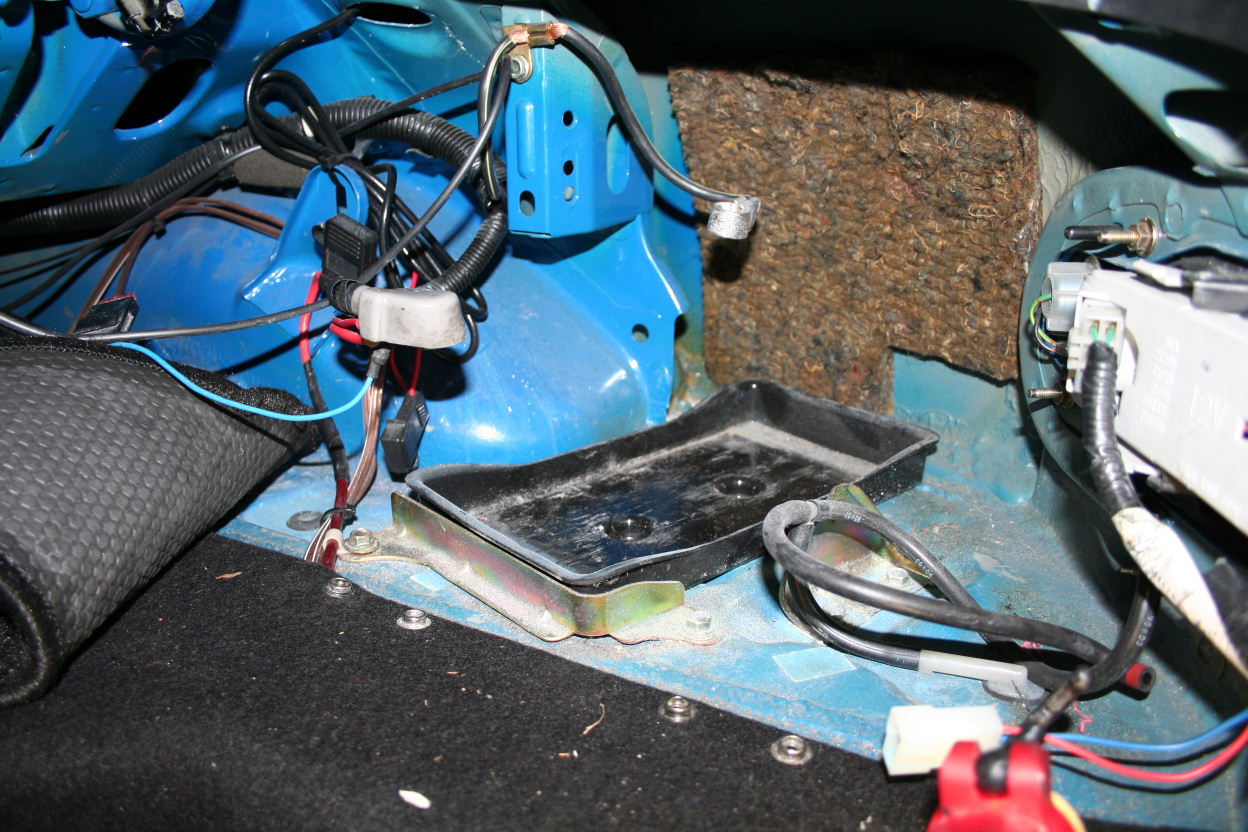 |
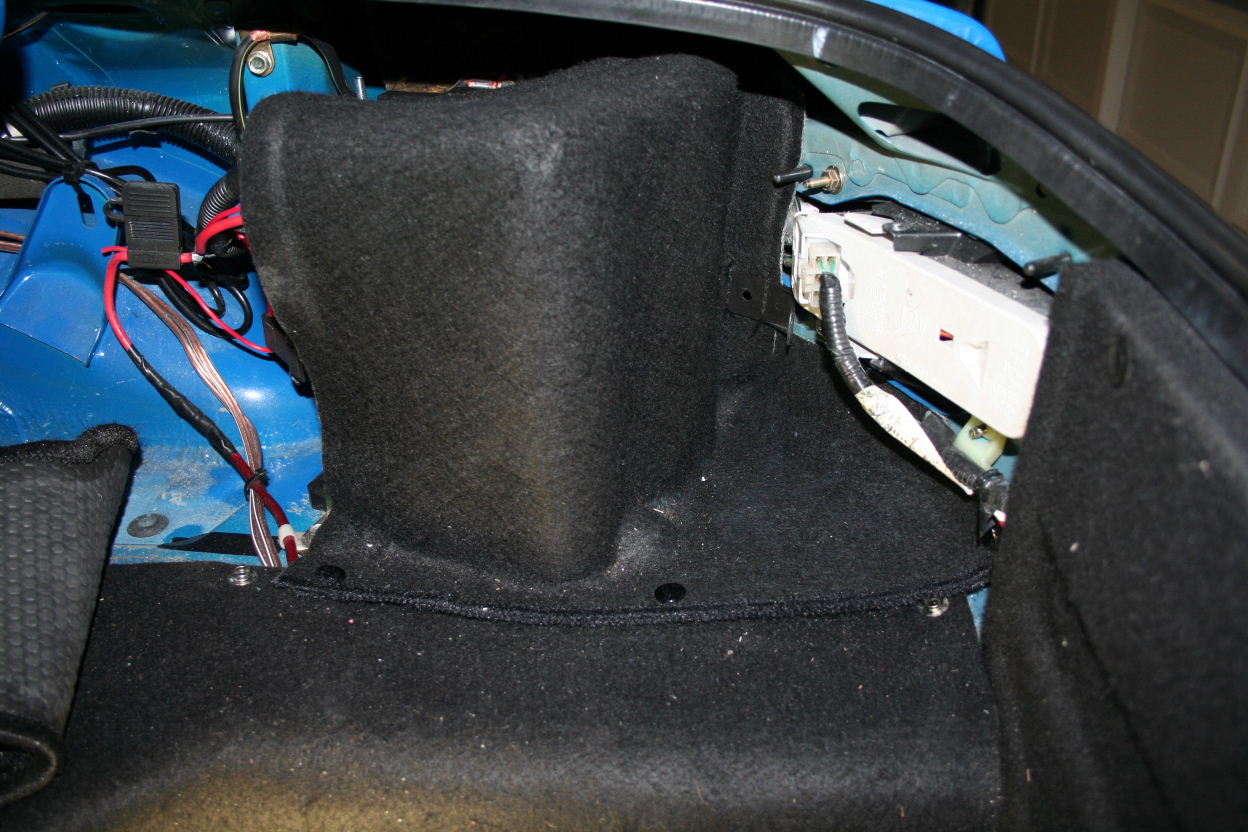
Once the battery is pulled, the area looks like this. I have a few extra wires there for an amplifier and a trunk release solenoid. |
 |
Remove the following: 1) Black plastic tray under the battery 2) 'L' shaped bracket that supports the bottom inward side of the battery from moving. 3) 'A' shaped bracket that the 'J' hook attaches to (to hold the battery down). 4) Black rubber hoses that were used to vent the Westo or original battery gases. I placed the Optima in position at this point to get an idea how it would fit. I removed the battery after this picture as it was in the way for future steps. |
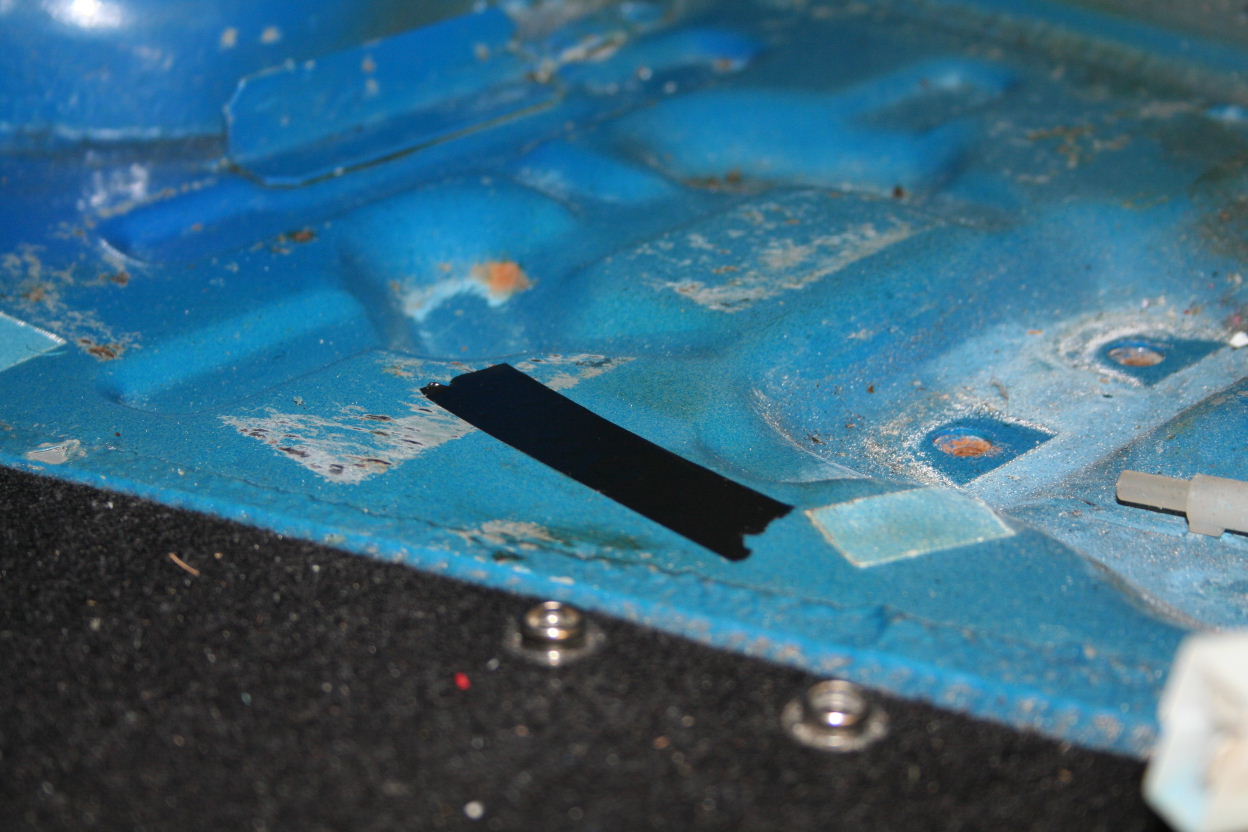 |
Cover up the two existing bolt holes that were used to hold down the 'L' bracket. The bracket will be relocated and those holes need to be covered to keep water from coming into the trunk. I just used ordinary electrical tape. Here is one pictured. You'll also see two other pieces of tape already covering two other holes. Those will be used in the next step. |
 |
Those pieces of tape placed at the factory are covering holes already properly positioned to reposition the 'L' bracket. How convenient! In this picture, I indented the tape over the holes so it could be visible in the picture. |
 |
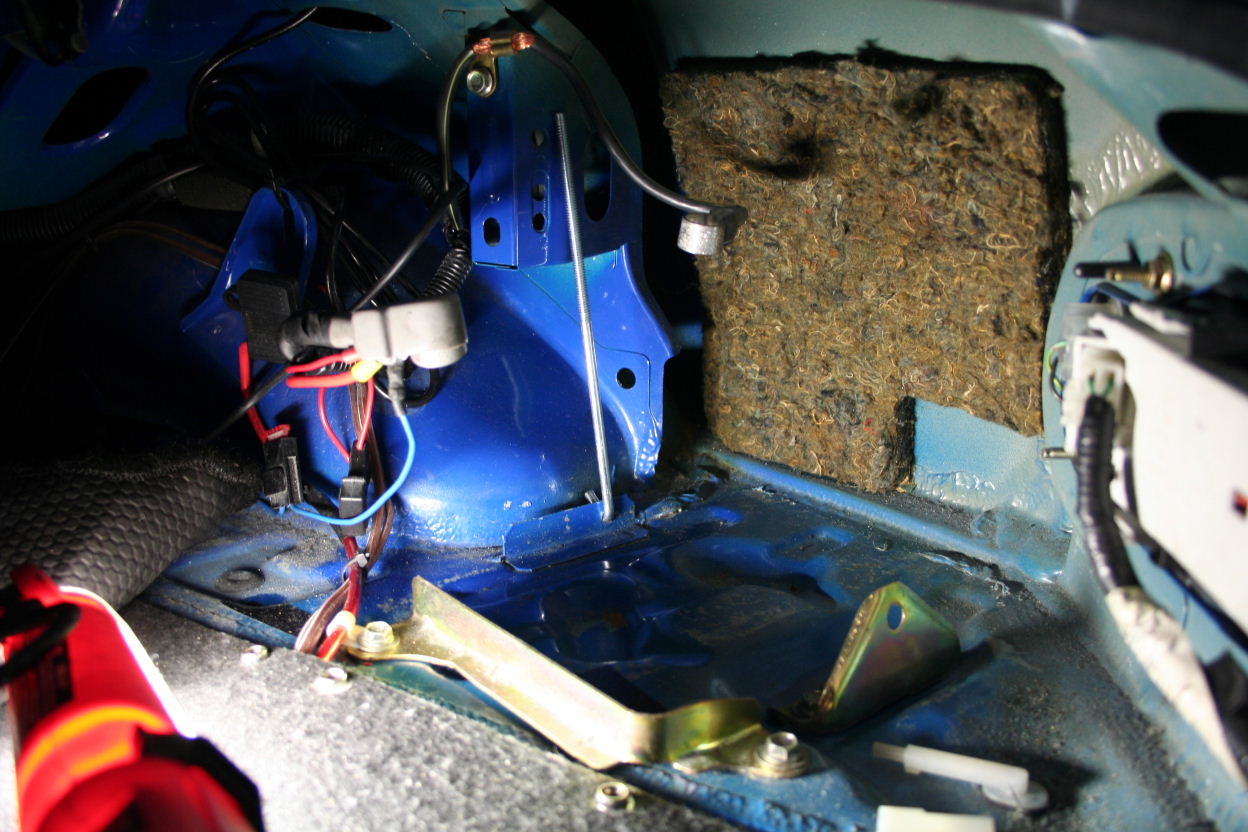
Here is the 'L' bracket now bolted down in the new position. Again, I put the battery in place as a test fit. Snug so far, left to right but not front to back. |
 |
Now add the 'A' bracket back in, but turn it around 180 degrees. This gives more room for the wider battery while providing an attach point for the 'J' hook. Test fit the battery then remove it. |
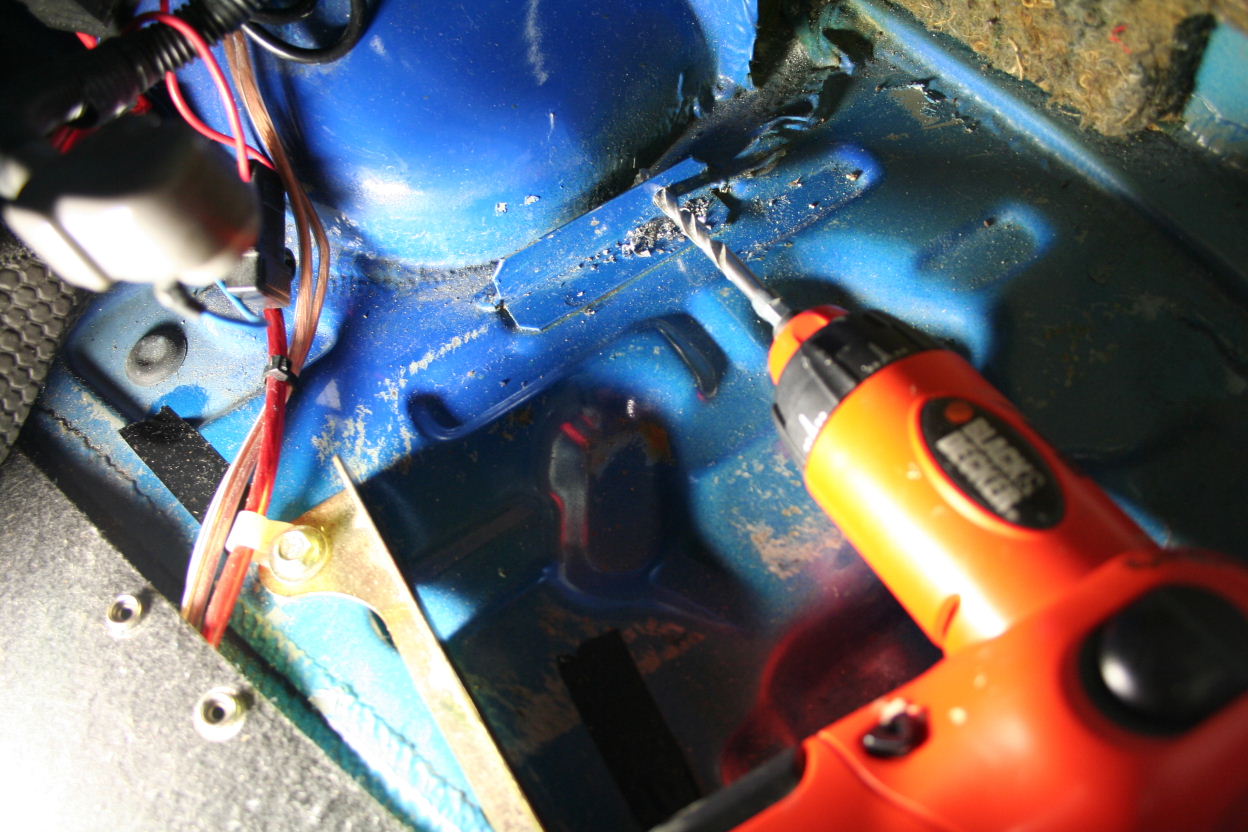 |
Next, drill a 1/4" hole in the metal stop to prove a place for a new 'J' hook to attach to. Notice that I drilled it off to the side a bit so that the hole was actually centered with the battery. |
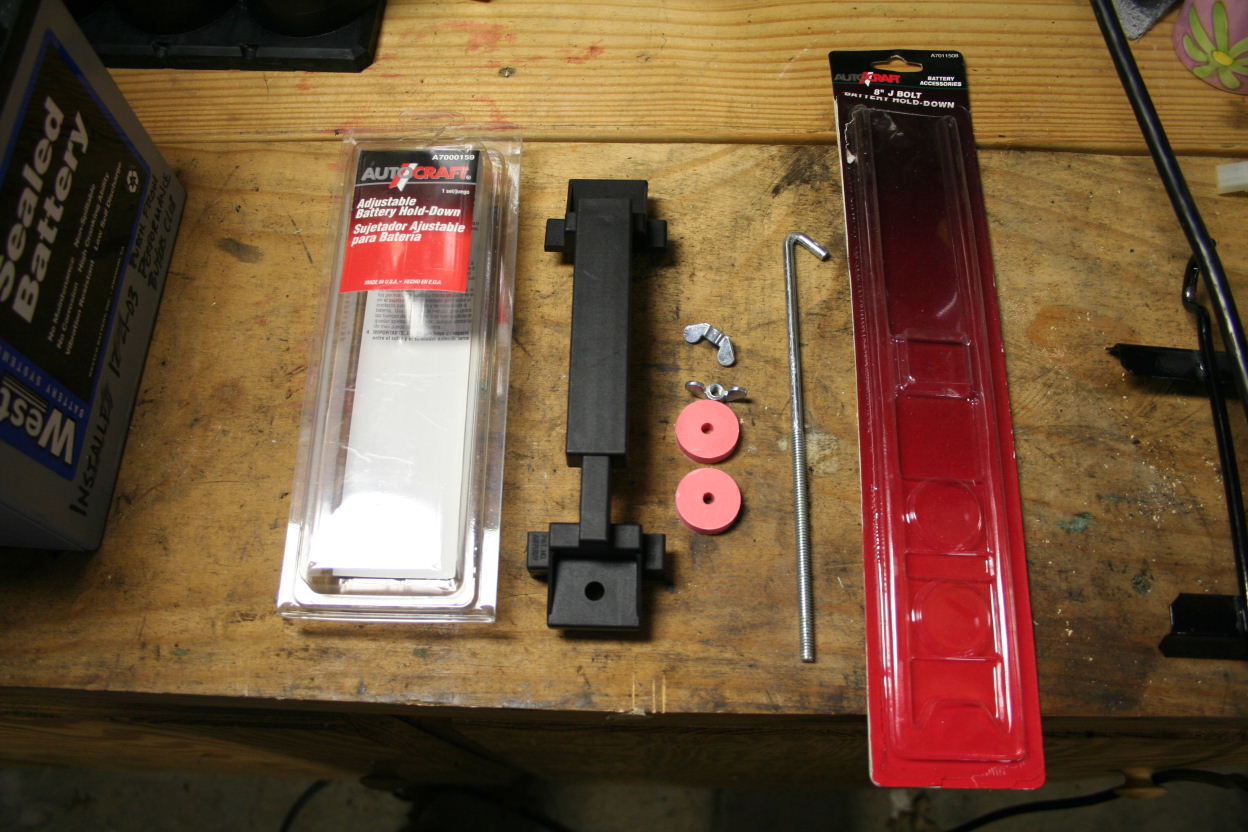 |
I bought a universal battery hold down bracket (it adjusts in width to any battery) and a package including two 8" 'J' hooks w/ wing nuts and rubber washers. |
 |
Here is one of the new 'J' hooks in position. |
 |
The rest is really easy. Put the battery in place, position the hold down bracket over the battery, slip the new 'J' hook into the hold down bracket, washer and attach the wing nut. Reattach the original 'J' hook to the 'A' bracket and slip it into the hold down bracket, washer and attach the existing 10mm nut. |
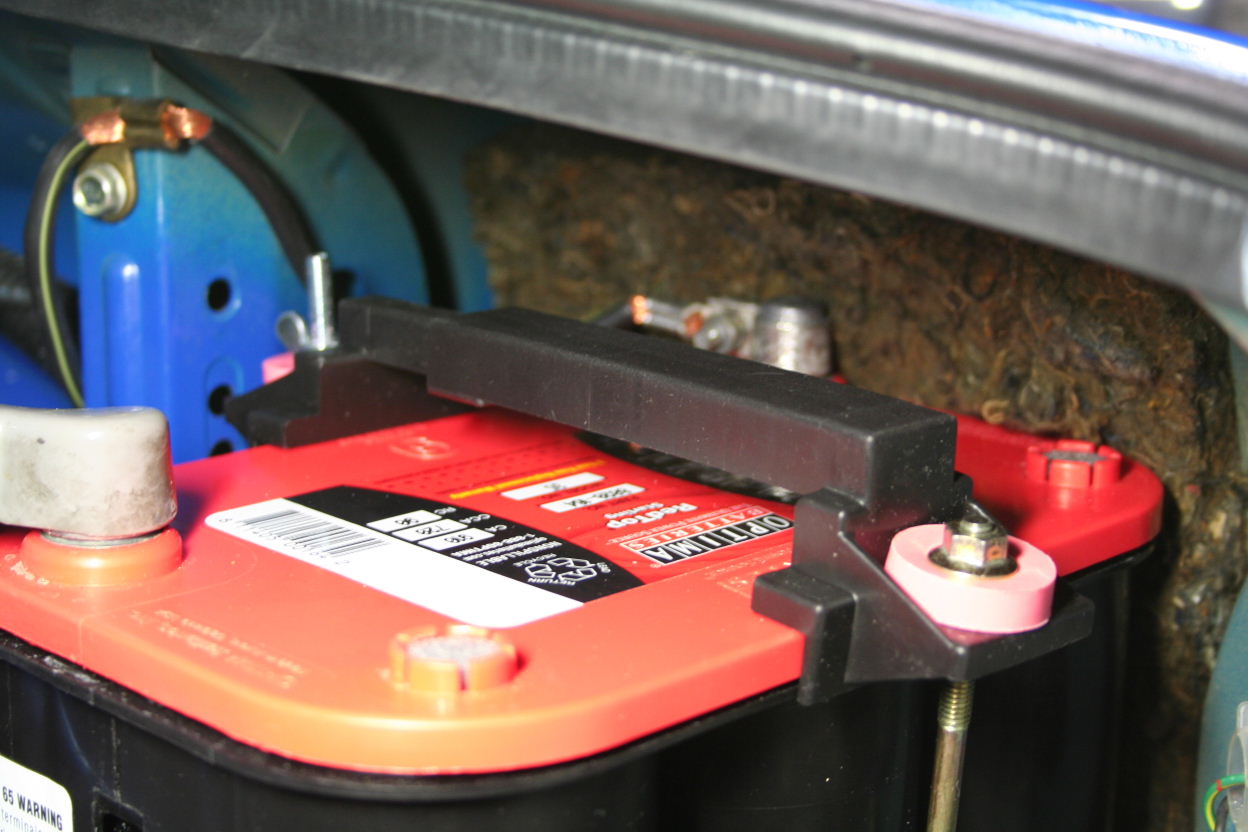 |
Here's a close up shot of the hold down bracket. |
 |
Here's another nice trick Mazda did for us. When you position the battery cover back, there will be two unused snaps. Position the cover on those instead of the two they used to be attached to. Viola! It's a great fit over the battery. Only problem is that crams against the tail light housing a little, but I can live with that. |
 |
All done! |